1. How to setup Subcollections on the collection pages?
2. How to change the content of "Collapsible tab" (Collapsible row) block for each individual product?
3. How to setup the quick add-to-cart feature for combined Color and Size options in Be Yours theme
4. Custom breadcrumb
5. Inventory status
6. I have products that have a different size charts, how can I set the size charts for different products?
7. RoarTheme Support Policy
8. How to change the background color of a section?
9. When I change something on a page or a product page, other pages change too. How can I get rid of it?
1. How to setup Subcollections on the collection pages?
This article shows you how to set up the subcollections on the collection pages.
1. First, you need to go to Online store > Navigation, then create a new menu. In this menu, you create the structure of your own collections as you want. For example, this is what we made in our demo:
Please note that every menu item in this menu must be linked to a collection:
2. Within the Theme editor, go to a collection page. In the Subcollections section, choose the menu you just created in the "Menu" setting:
That's all. And the sub-collections should display by now.
2. How to change the content of "Collapsible tab" (Collapsible row) block for each individual product?
The Collapsible tab block (also called Collapsible row in some versions) can retrieve the individual info of the current product called metafields. I will show you how to create a metafield for the product and get it displayed on the Collapsible tab block:
Assumes that you want to store the 'material' info in your products. Here're the steps:
1. From your Shopify admin, go to Settings > Custom data > Metafields > Products:
2. Click Add definition
3. In the Name field, enter a name for your definition (let's assume 'material'), and then click the name that you entered from the list
4. Click Select content type
5. Select Rich text (or Multi-line text), which best matches your demand - texting for the "material" field
6. Click Save, and the new metafield should appear in the list
7. Go to the product you want, scroll down and you should see the material field
8. Click and enter the value you want, then click Save
9. Go to the product via Customize panel, within the Product information section, add a Collapsible tab block
10. You can set icon and heading here. Click the Insert dynamic source icon
11. Choose the material field, then click Insert
12. Here's the result:
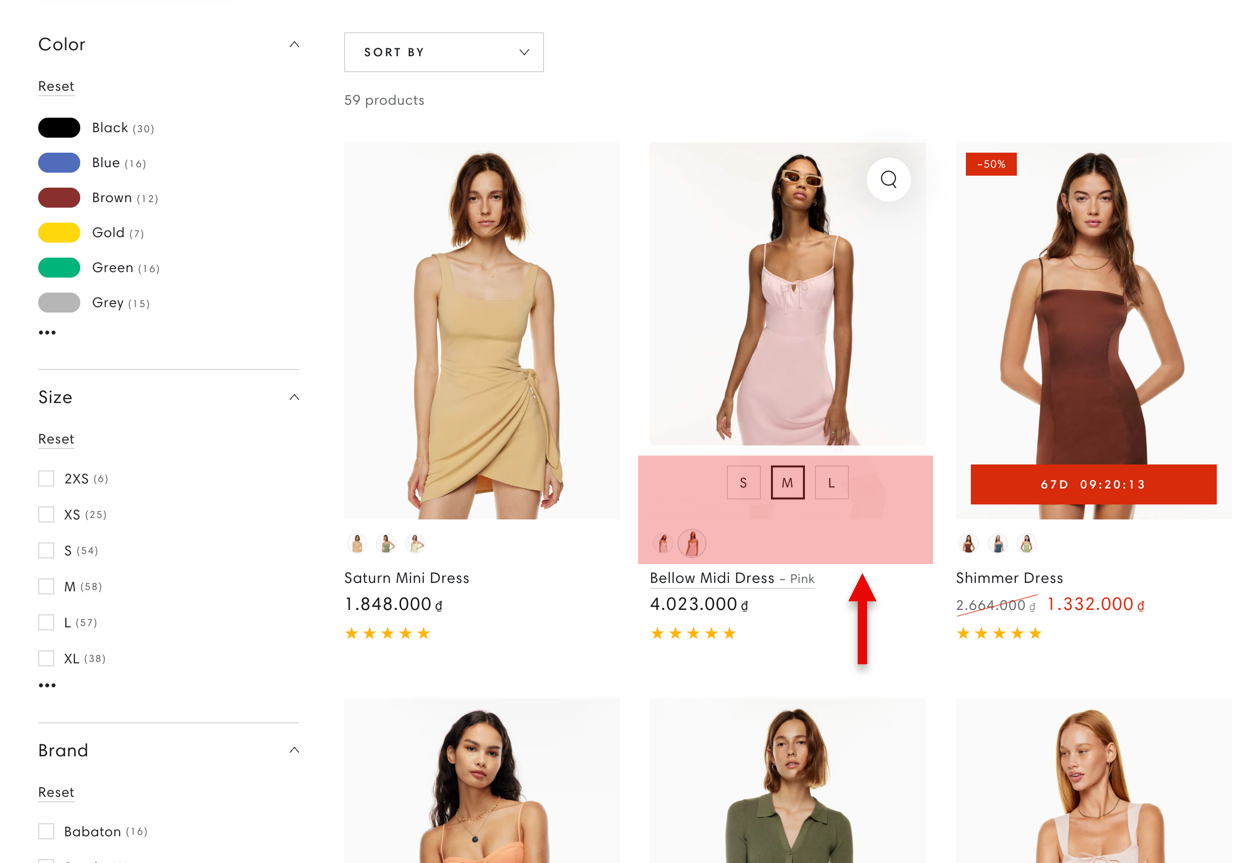
3. How to setup the quick add-to-cart feature for combined Color and Size options in Be Yours theme
This tutorial will guide you on how to enable and configure the color and size swatch feature in your Shopify theme. This feature allows your customers to quickly view and select available sizes and colors directly from the product grid and add them to the cart with ease.
Prerequisites
Ensure that your products have at least two options and one of them must define the color, for example, Color and Size.
Add the relevant color and size variants to your products.
Step 1: Enable the Color Swatches Feature
Open the Shopify Theme Editor.
Navigate to the Collection Page where the Product Grid section is located.
In the Product Grid section, follow these steps:
Go to Product Card Settings.
Toggle Enable Color Swatches to turn it on.
Next, open the General Theme Settings:
Navigate to Product Tiles.
Under the Color Swatch section, toggle the Enable Swatches Feature to activate it.
Step 2: Active color swatch feature:
You can refer to our documentation to setup the color swatch feature.
Tips
If you experience any issues or the feature does not appear, double-check the Color and Size options in your products to ensure they match the settings.
Please feel free to submit a ticket via this ticket system and our developers are happy to assist you further.
4. Custom breadcrumb
Regarding your question, please follow this instruction, you are able to custom a breadcrumb by using Custom liquid
1. Within a product page in Customize panel, click Add section then select Custom liquid:
2. Drag the Custom liquid to the very first place, make it the first section:
3. Click on the Custom liquid, in its text field, paste the code below:
You may want to change the paddings to zero to reduce the spacing.
4. A simple breadcrumb should be displayed by now:
I hope this helps
5. Inventory status
The inventory status block has a setting called Low inventory threshold. This is the value that the product's variant inventory is not allowed to exceed for the message to be visible.
For example, product P has two variants: VA01 and VA02, the VA01 has 23 units and the VA02 has 10 units. So, when you choose VA01, the bar will not show up because the 23 exceeds the limit, 20
I hope this makes sense.
Thank you so much.
6. I have products that have a different size charts, how can I set the size charts for different products?
You can use dynamic source via metafields to set the size chart per product. Here are the steps:
First, you need to add metafield definition for storing size chart info:
1. From your Shopify admin, go to Settings > Metafields > Products
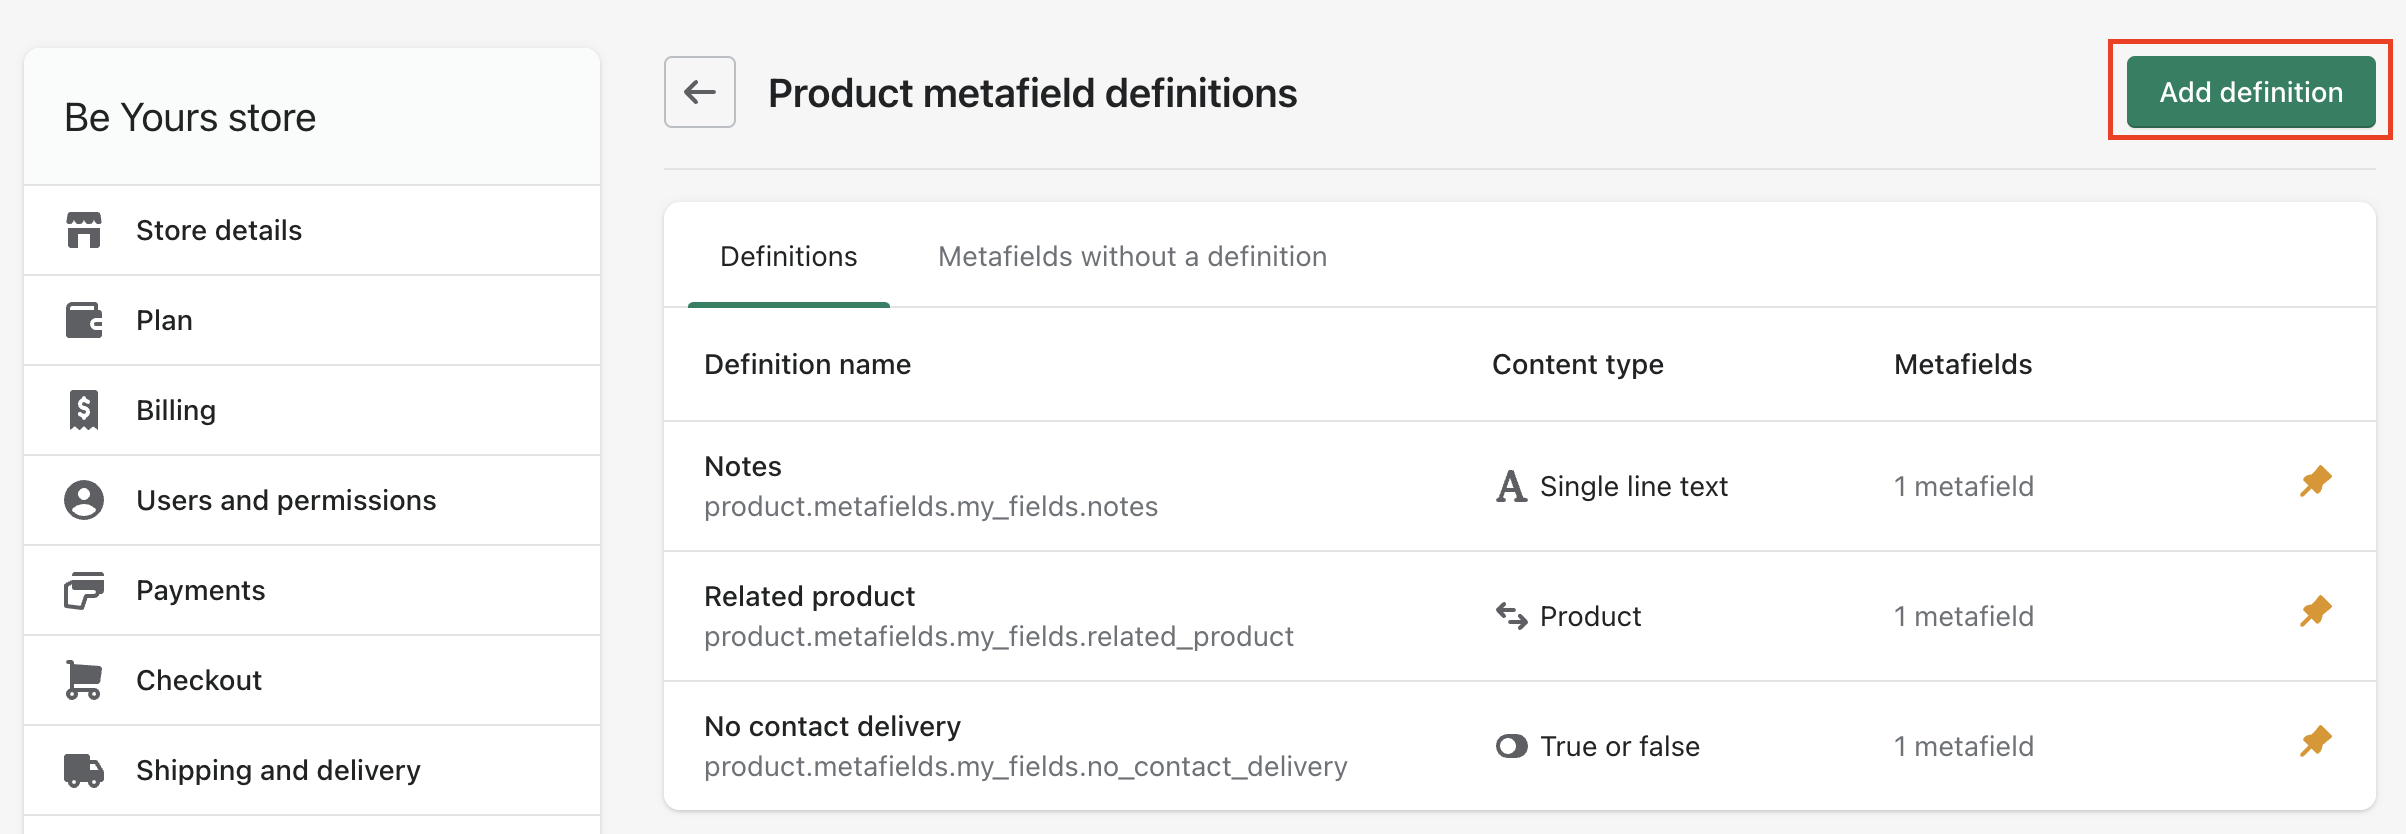
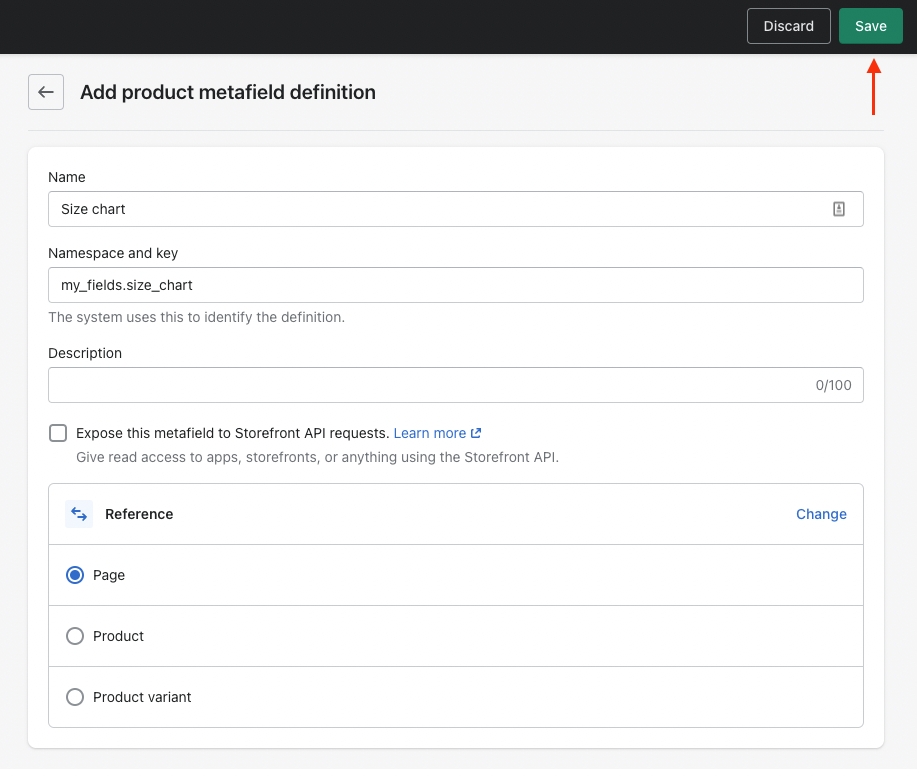
2. Click Add definition
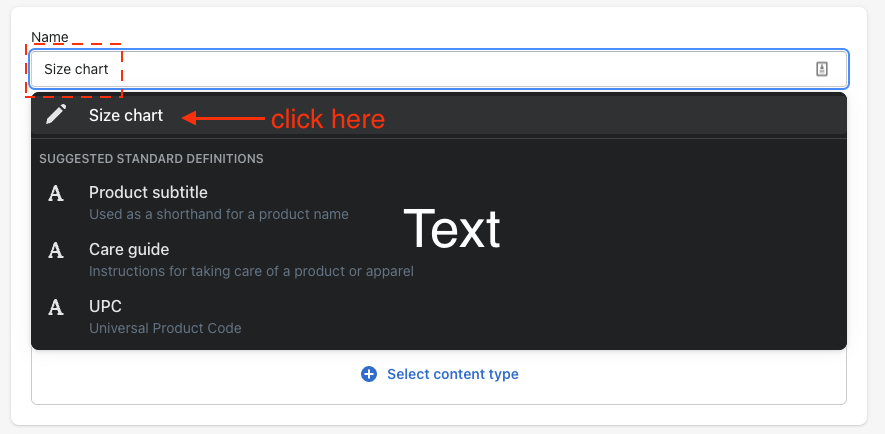
3. In the Name field, enter Size chart, then click the 'Size chart' generated as you type
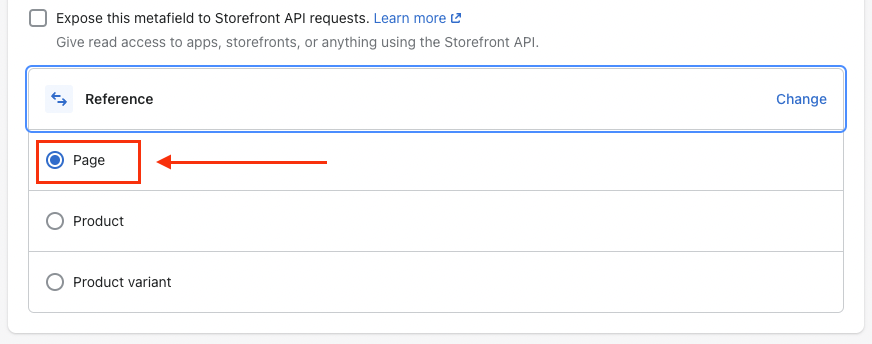
4. Click Select content type then select Reference
5. Choose Page
6. Click Save to save the definition
Then, you need to set the dynamic source to link to the Size chart metafield you just created for products
7. Within the Customize panel, go to a product (you can choose any you want, this step is considered representative and impacts all products). Within the Product information section, click Variant picker block, then click the Connect dynamic source button at the Size chart page
8. The Size chart should be listed here, click on it
9. Click Save to save your changes. You still haven't seen the Size chart appear by now because you need to set up the Size chart page for each product, like the next steps below.
-----------------------------------------
All the 9 steps above need to be done once only, and it will affect all products. No need to do it again later.
-----------------------------------------
Next, go to the product you want and set the Size chart value:
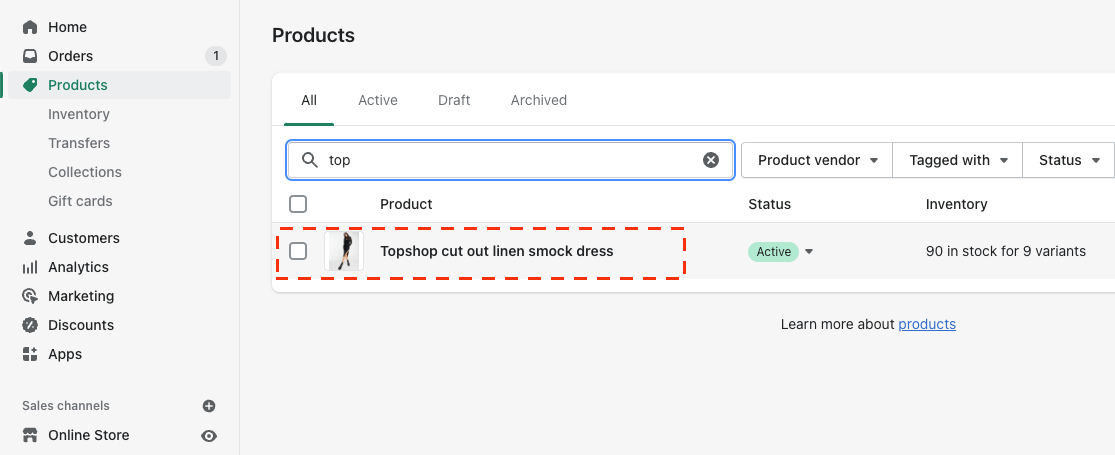
10. Go to the product you want:
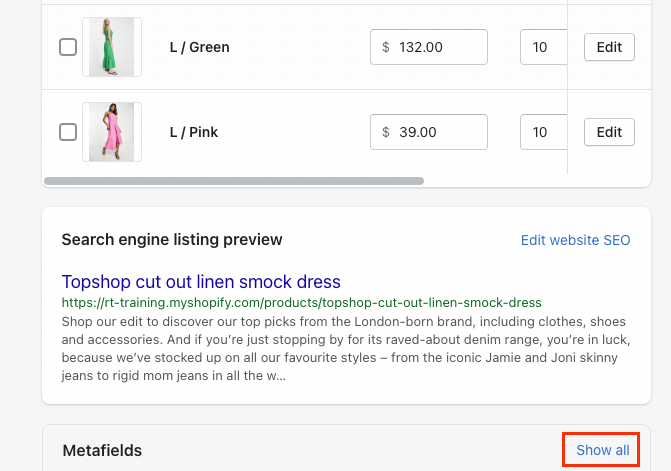
11. Scroll down to the Metafields and click Show all
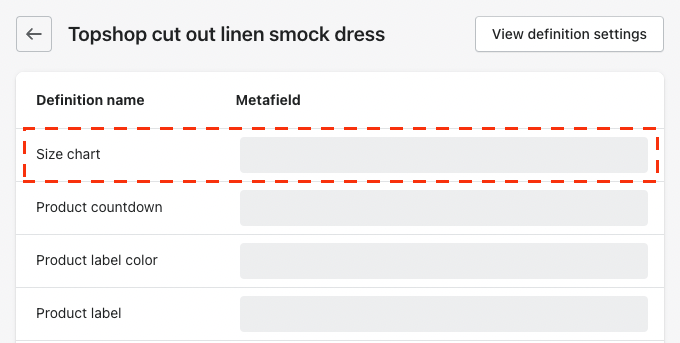
12. You can see the Size chart here
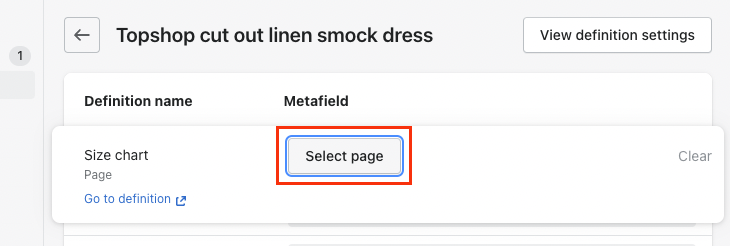
13. Click on it then click Select page to choose the page you want to be the size chart content for this product.
14. Click Save to save your changes.
That being said, if you want to include different size charts for different products, just create as many pages as you want.
I hope this helps
7. RoarTheme Support Policy
Support Policy
Available hours
Our support team is available Monday - Friday, 9am - 6pm ICT. Please allow up to 24 hours for a support response, in some instance it may be minutes or a few hours depending on the volume of tickets that we are working on, all, however, are handled in the order that they were received.
Please do not send follow-up requests until you have heard from us. Each new email will renew the timing of your initial query moving you further down the queue.
Theme licensing
Themes are licensed to 1 store only per purchase and may not be used in additional stores. Support is free but does not extend to modifying the original source code. For modifications please consider hiring a Shopify Expert.
Support eligibility
Free theme support is provided to all Shopify merchants who have purchased a theme via Shopify theme store or directly from ourselves. Those customers may also update their theme to a newer version at any time in the future.
Theme support and theme updates are not available to merchants who have purchased themes from any other source.
We reserve the right to refuse or deny support service at our discretion. Abusive comments aimed at members of our support team will result in an instant and irreversible denial of all further services.
Theme support includes:
Fixing bugs or issues within clean, unaltered theme installations.
Answering questions about the features of our themes and their settings.
Assistance in setting up features included with our themes.
Providing updated theme versions that you may use for future installations of the same theme without additional cost.
Theme support does NOT include:
Any changes or modifications to the design or code within our themes.
Updating themes that are code-edited and/or code-customized by any 3rd party (a person and/or an app).
Troubleshooting issues directly related to Shopify's inner admin. For assistance with those please refer to Shopify support.
Troubleshooting or debugging broken code or functionality related to a theme modification or app installation. We recommend reverting all modifications back to the original theme source code or removing conflicting apps to ensure the smooth operation of our themes.
Transferring prior code changes between themes or across theme versions.
Installation or removal of third party plugins or apps.
Unlimited support questions. It is uncommon however customers who are taking advantage of our theme support may find their support limited or restricted.
Teach you how to code.
Updates are optional, changes in design will often be a factor where new code is used to improve performance, functionality and stability of themes and the options that they carry. Our team can not assist in making your new theme version look like your old theme version in the event of changes in design.
8. How to change the background color of a section?
Please go to the section you want to change the background color, scroll down to CUSTOM CSS and paste the code:
{
  background-color: #fbb08c;
}
In the code above, a sample color with hex code fbb08c is used, which looks like the color of Macaroni And Cheese. You can replace it with your color's hex code. You can find the hex code at the website https://www.color-hex.com/
9. When I change something on a page or a product page, other pages change too. How can I get rid of it?
In Shopify, by default, all of the pages use the same page template. Similarly, all of the product pages use the same product page template (this rule is also accounted for other template types such as collection, blog, blog post). That being said, except for the individual data (title, description...), all the changes you make to a page or a product page (via the theme settings panel, including adding sections or blocks) will be considered representative, and it will apply to all pages or product pages.
So, if you want to separate the settings for each page, you need to create a page template for each.
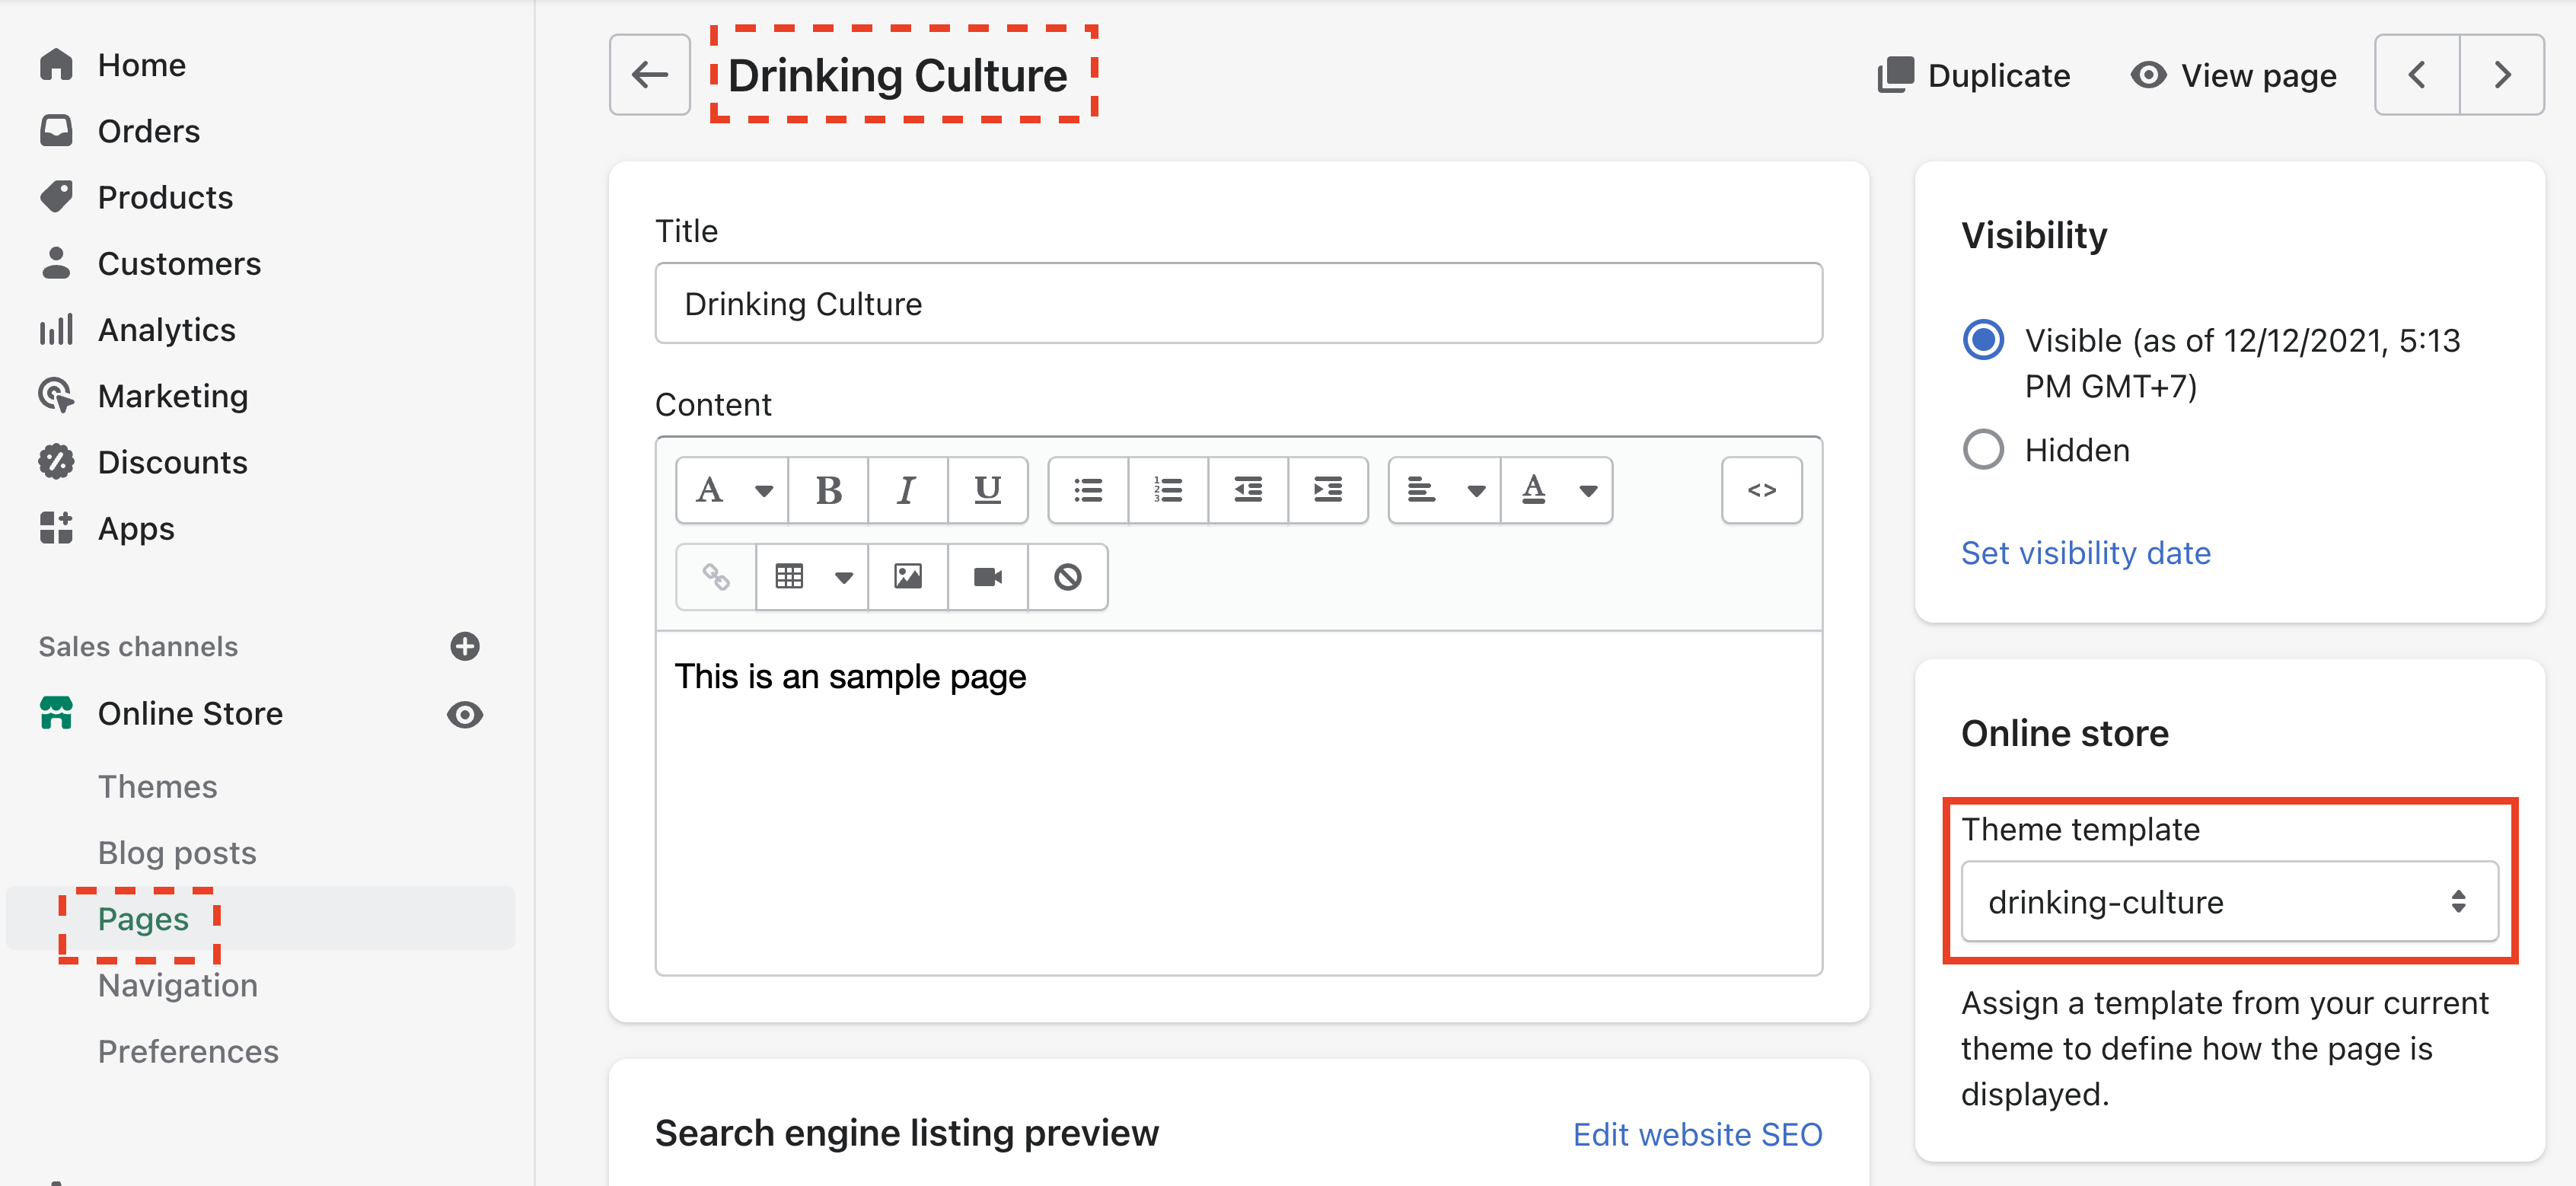
Let's assume that I have a page called "Drinking Culture" and I want to create a separate template for it based on Default page template. Here's what I should do:
From the template dropdown, I choose Pages > Create template (If you want to create a template for products, then choose Products > Create template)
Then, in the page in admin, I will assign the template "drinking-culture" for it, like this:
By doing this, now the setting I made for Drinking Culture should be unique and won't impact other pages.
You can also use this method for product pages, collection pages, blog pages, and blog post pages.